My Thumbs Aren't Green But My Garden Is
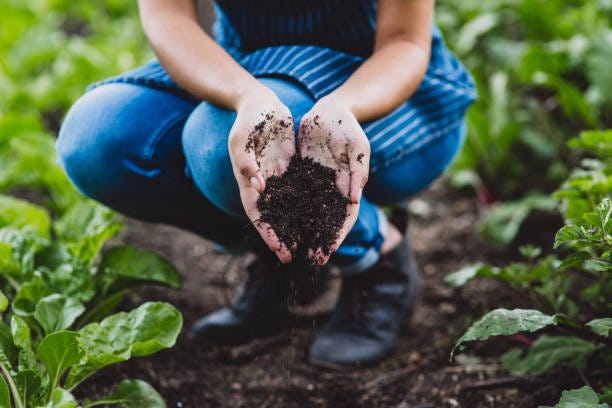
As a prepper, I realize how important it is to grow food. Consider a prolonged event like famine, war, or plague where the food supply is interrupted for a long period. I may need to grow my own food during the time I am consuming what I have stored away. I will begin eating what I have saved but then what? What will I do when I run out? If you’re a prepper or thinking of becoming one, then you should consider the possibility that you may need to grow a portion of your food to survive.
There’s another benefit to having a garden. There’s food ready to eat or prepare at home. Veggies can be harvested and immediately used with a meal. A small herb garden is handy for cooking. I love basil and have tons of it growing. I can go out into my backyard and pick fresh basil whenever I want. Herbs and veggies make great additions to meals and having them in a backyard garden is convenient. Furthermore, grocery prices are going through the roof. Everyone knows this. Producing even a little food at home can help save money, which can then be saved or spent on something else.
Ways to Grow Food
This article is about the various ways I have previously and currently produce food at home. There are many ways to do this and I’m only going to write about what I have done. I cannot speak to other methods and how well they work. I haven’t created a Food Forrest (though the concept interests me and sounds cool) and I haven’t used elaborate hydroponic systems. So this article will focus on the methods I have used to successfully grow food.
The Past
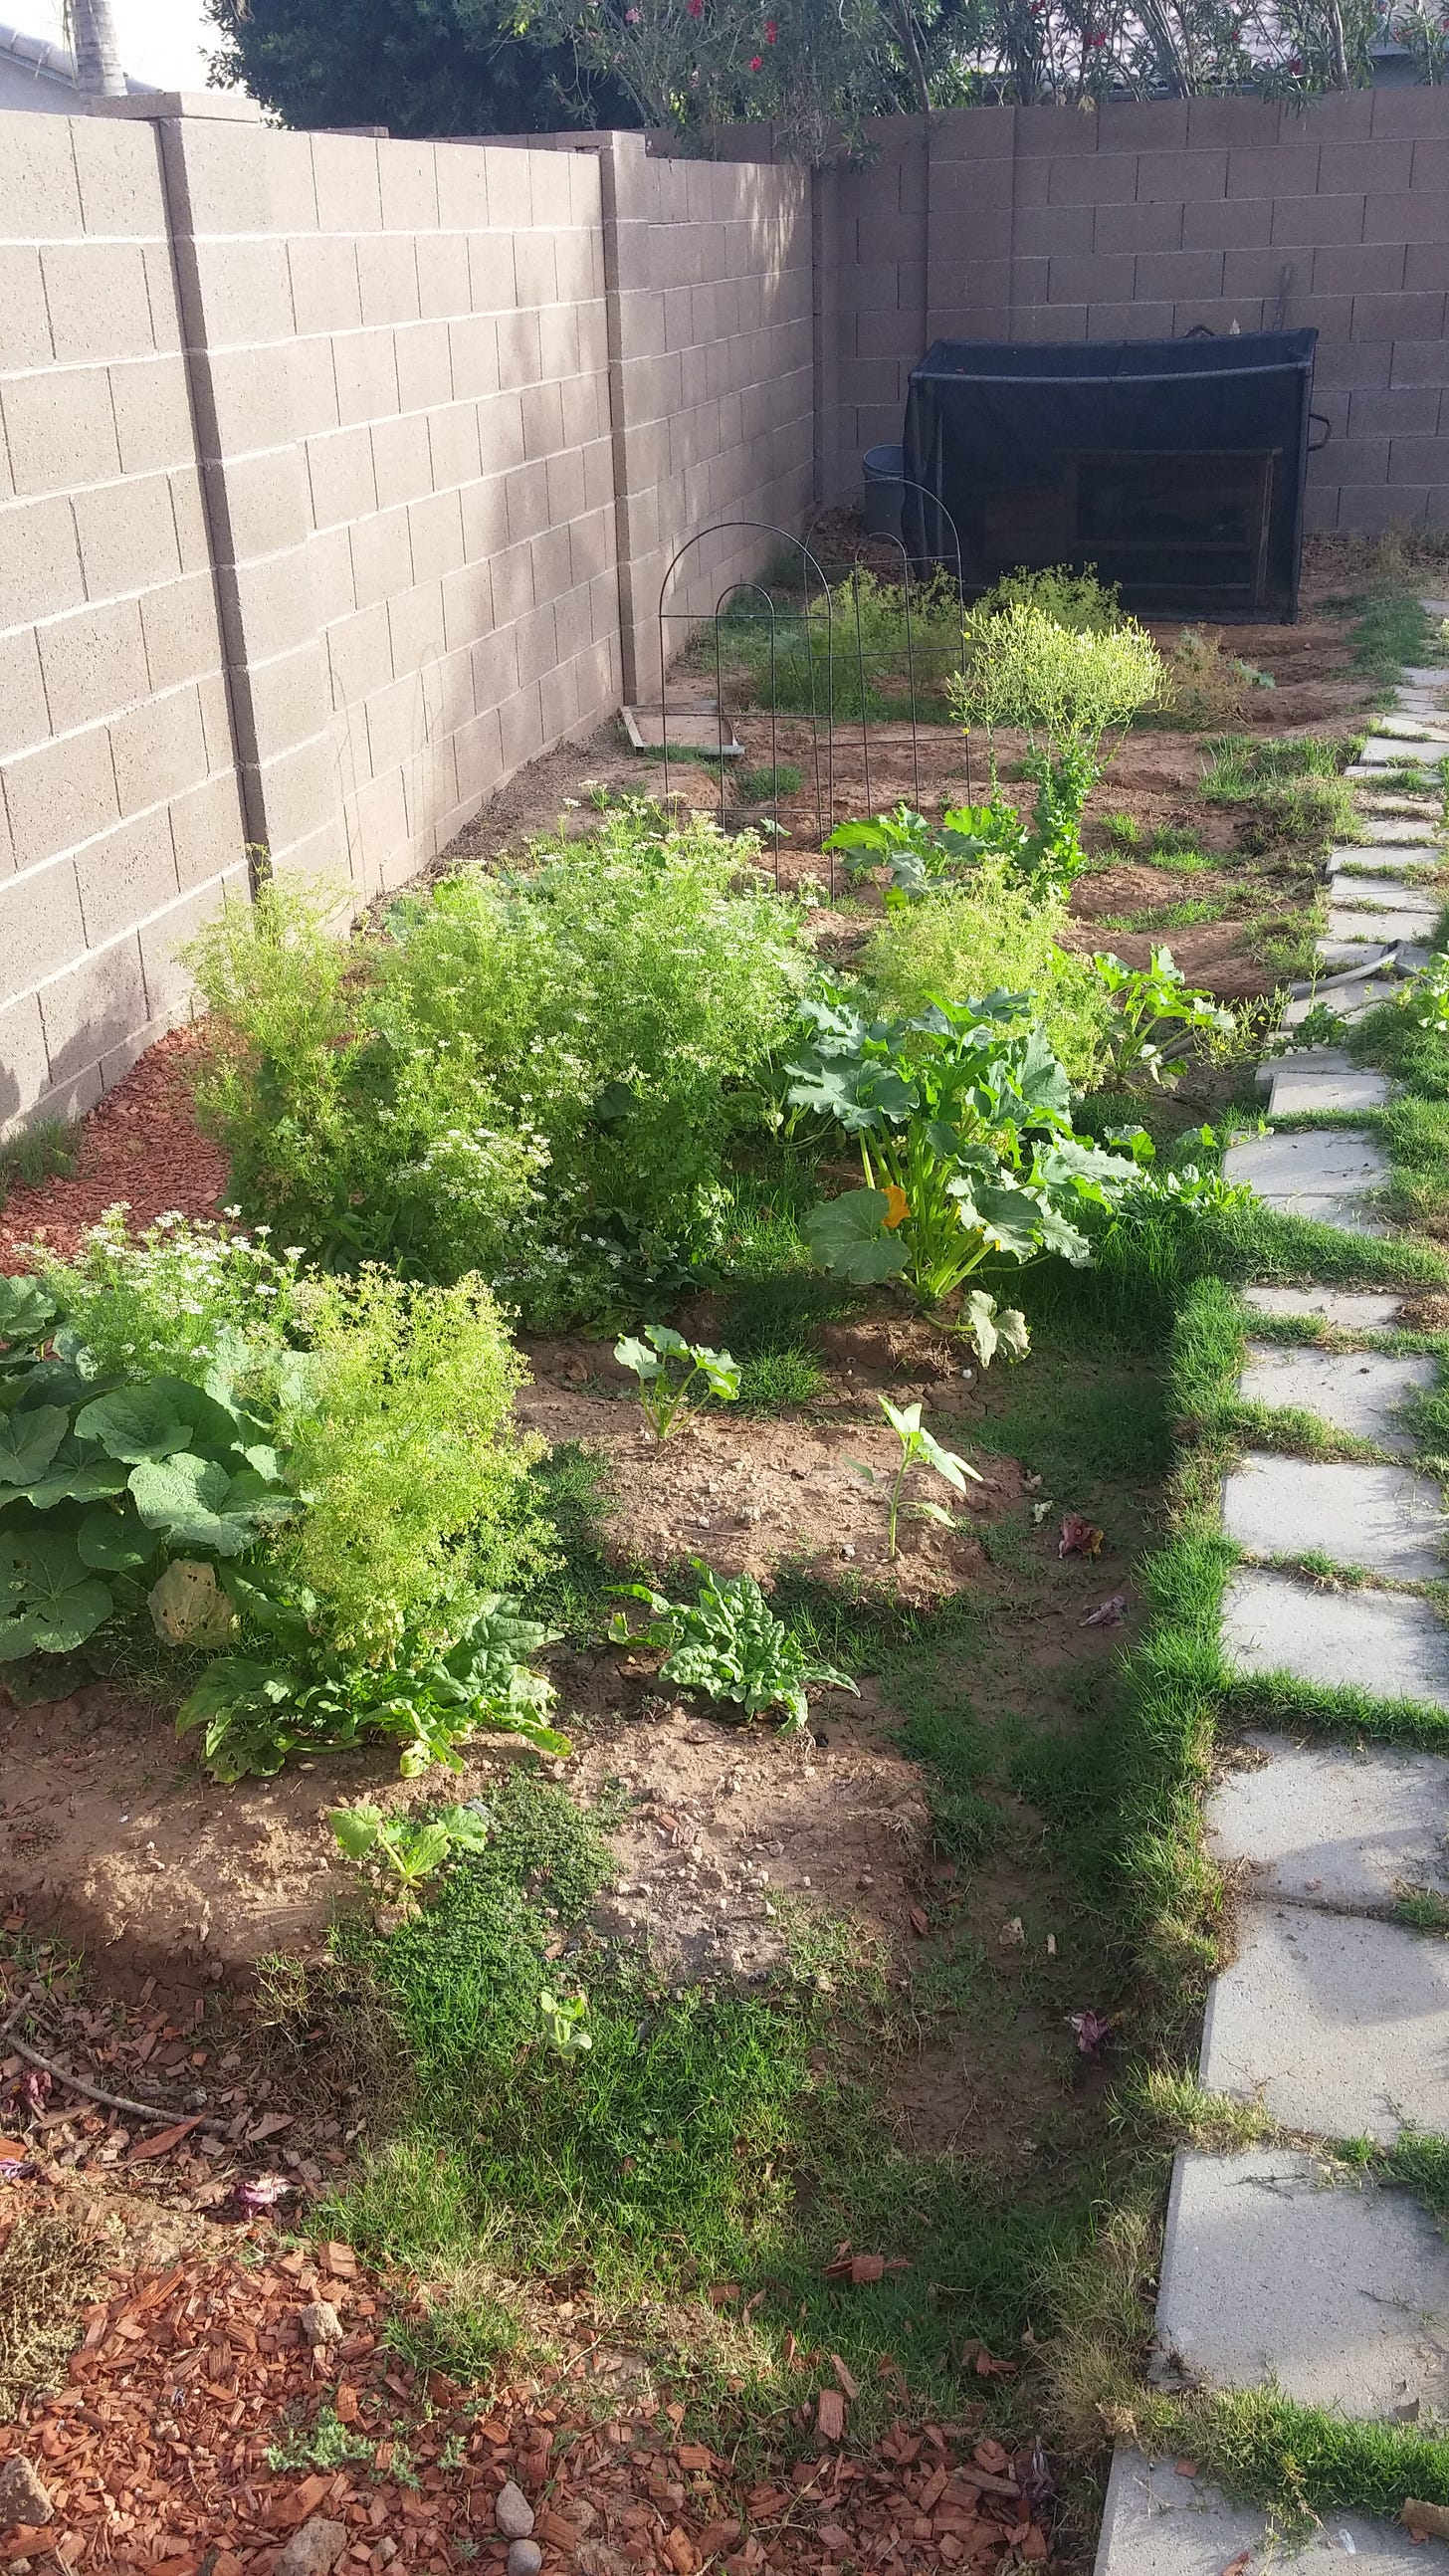
Many years ago, I lived in an area around Phoenix that has soil that is rich with clays and silts. These silt and clay deposits were deposited long ago in the area by the Salt River and have been utilized by farmers in the past for growing food. I took advantage of this material for many years and planted seeds directly in the ground. Before doing so, however, I needed a way to water what I wanted to grow.
I wanted to be able to grow a variety of plants and I wanted to grow a lot of them. I lived in a neighborhood that did not have flood irrigation. I decided to dig small irrigation channels and to connect them together. This created rows for planting. I liked to think of them as tiny hills and valleys. I planted seeds in the rows and filled the valleys with water with my hose. It worked for many years.
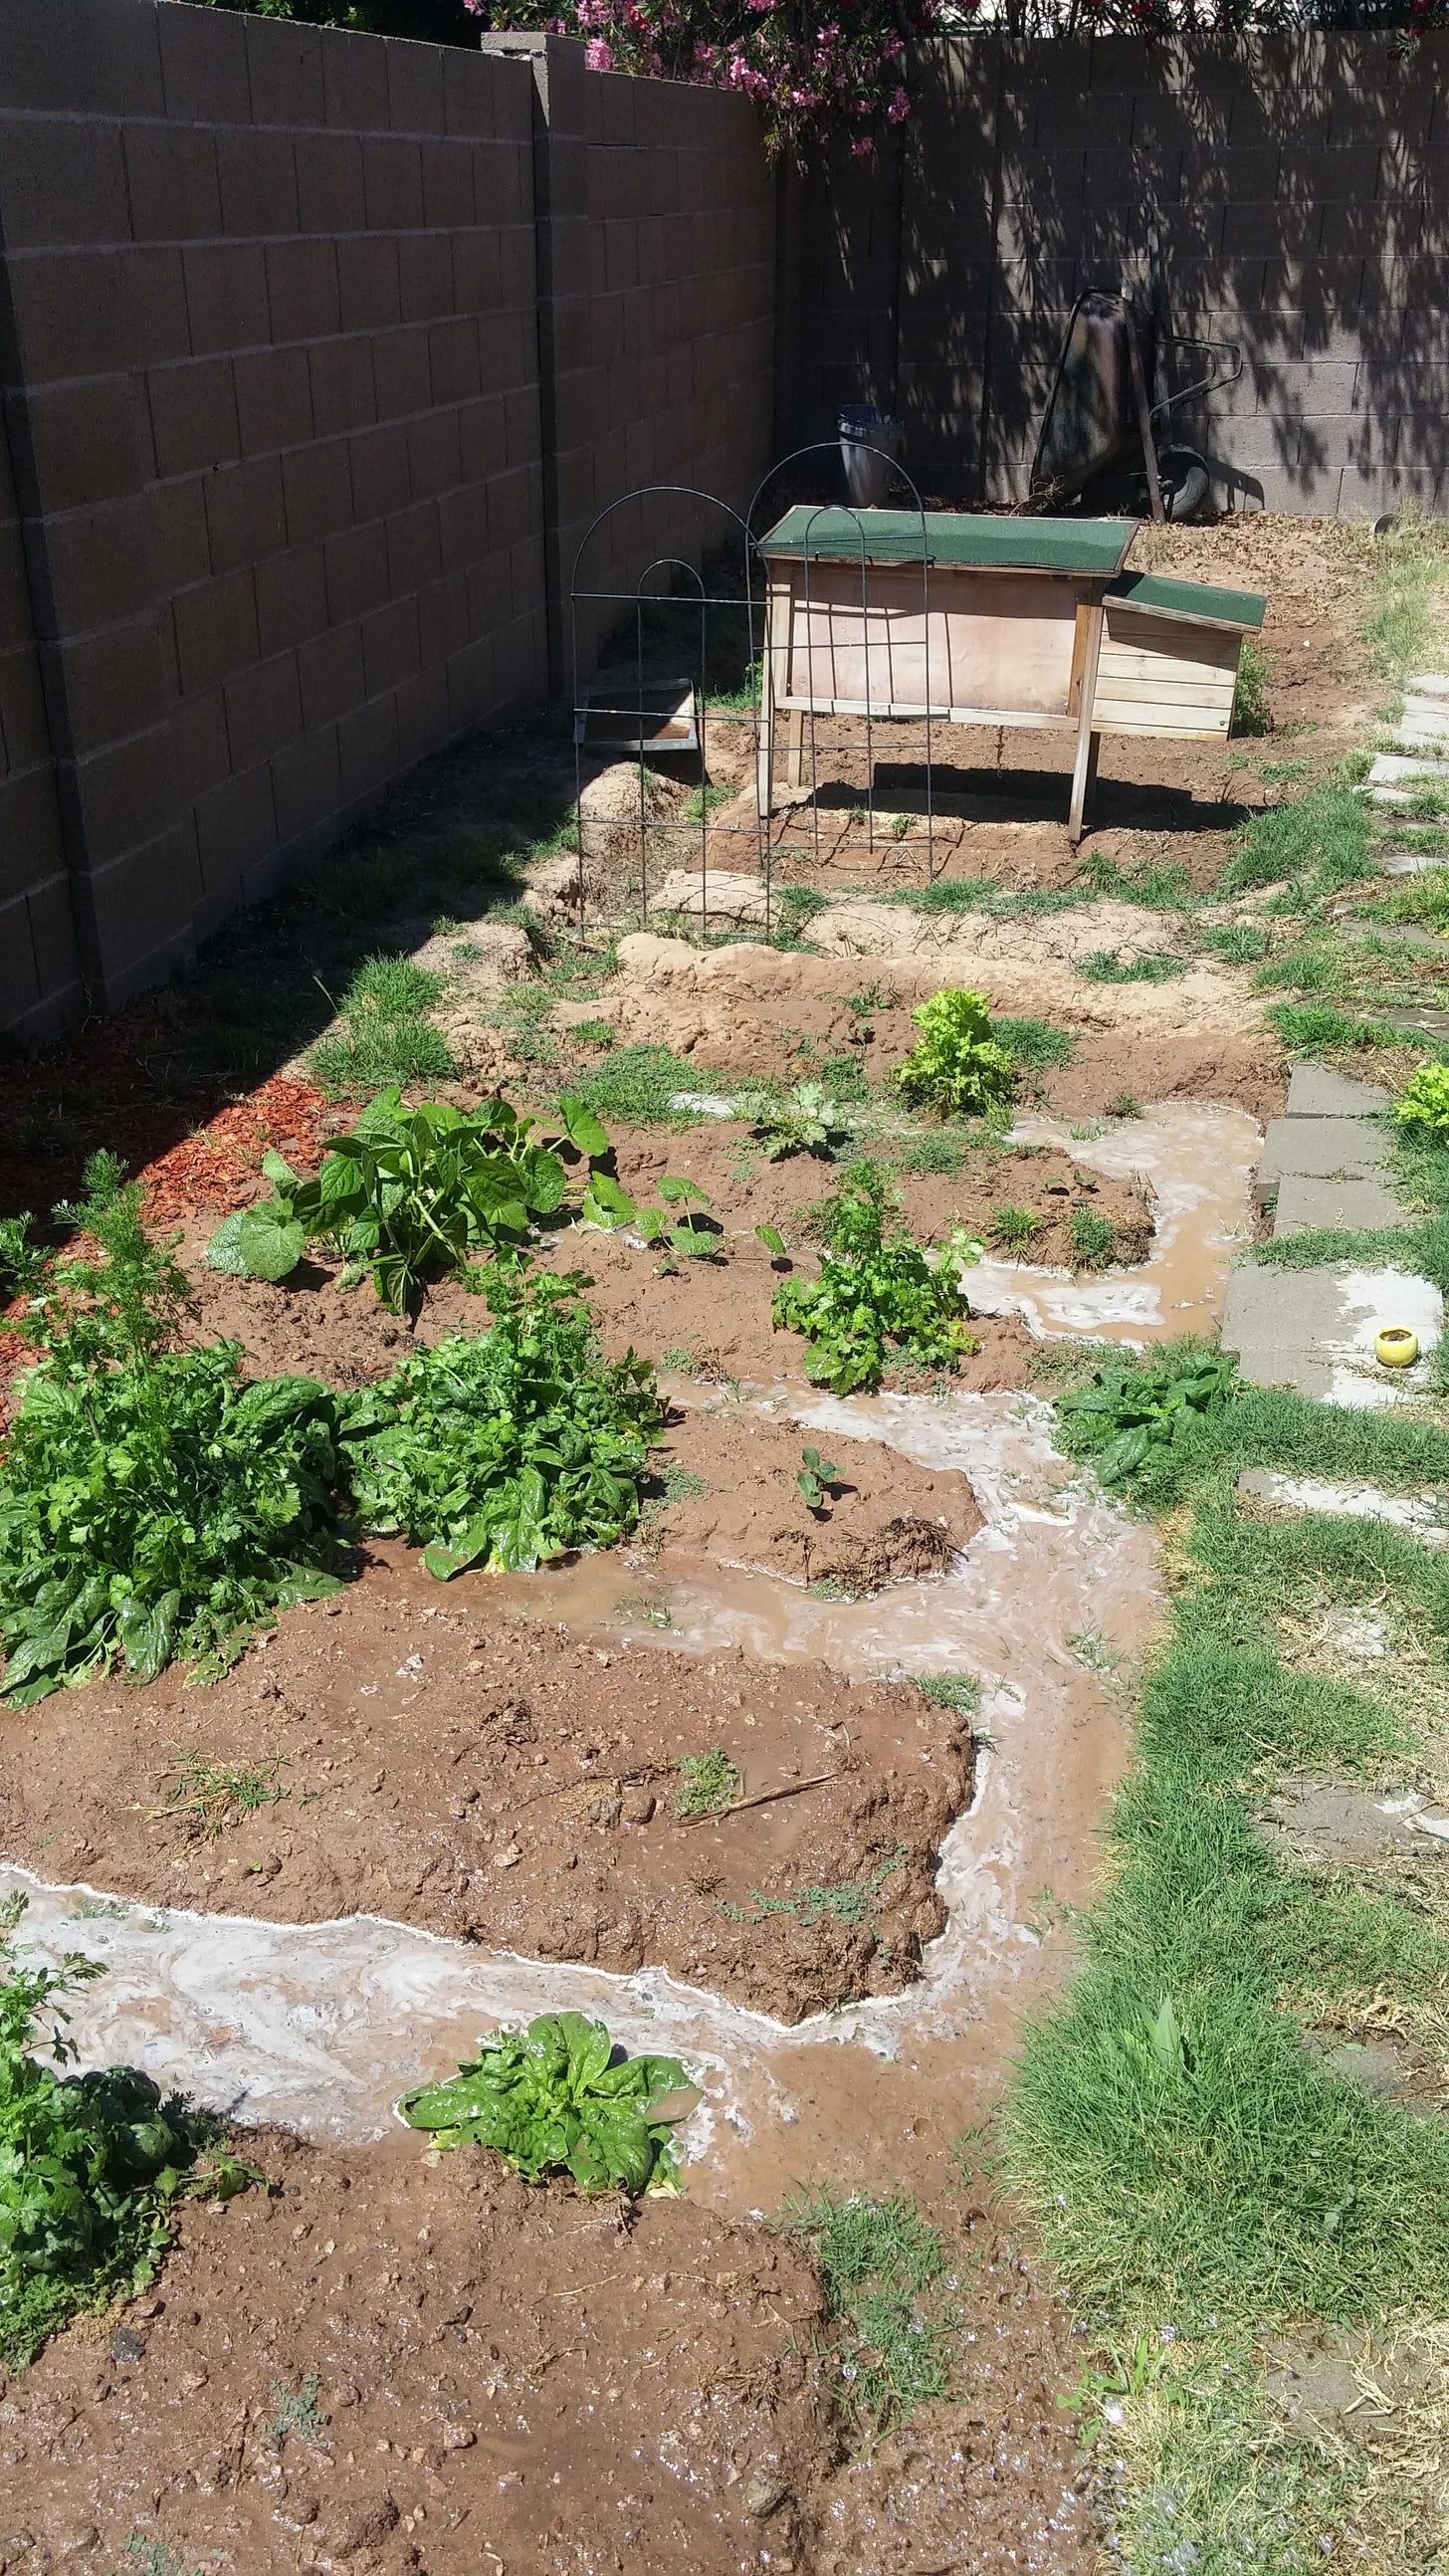
This method was very crude though. I was always fighting the invasive Bermuda grass growing next to this area. I had to use my hose every time I wanted to add water. If I forgot to turn it off, the area would be underwater. It wasn’t ideal. Additionally, I was renting the house and I couldn’t do anything permanent. So I had to use this crude method until I got my own place.
The backyard was dirt when I moved in. I treated it like a blank slate, crafting it a little for my own purpose. At a later time, I added a wood planter, a type of raised bed, to another part of the yard. I filled the planter with soil, manure, and seeds.
I even purchased quail at some point and placed their little birdhouse in the garden area so their droppings would fall onto the ground and fertilize it. The birds produced eggs that could be eaten and the soil could get more nutrients.
Here’s a partial list of the veggies and herbs I grew in the ground at this location. (It’s a partial list because I am drawing from memory and I may be forgetting some things.)
Cilantro
Tomato
Onion
Garlic Chives
Zucchini
Watermelon
Pumpkin
Peas
Basil
Parsley
CornCorn
SunflowerSunflower
Lettuce
Spinach
Dill
Flowers
In the planter, I grew Broccoli, cilantro, lettuce, Swiss Chard, zucchini, and watermelon. I even planted Hollylock, thinking the flowers would be good to attract bees for pollination, but I do not recommend doing this. Hollylock will take over the entire area. It is quite invasive. I learned that lesson the hard way. If you want to attract bees, plant some colorful flowers. They won’t take over your space and are not nearly as messy.

HUMAN INTELLIGENCE wrote this article. To support my writing, please like, share, and subscribe. If you’d like to donate to help support my work, you can do so through a paid subscription here on Substack, by going to Buy Me A Coffee or to https://www.givesendgo.com/desertflashpoint and donating there. Thank you for reading.
The Present
When I moved to my new location, I needed to landscape the backyard. Again, it was another blank slate. I knew I wanted to grow food but I also wanted citrus. So I designed the yard with these considerations. I laid irrigation myself, laid tree rings, installed a lawn, and erected a flagpole, which aids with my wire antenna for one of my radios. That’s a different story…
A Quick Digression About Citrus
I’ve never grown citrus before. I am still learning as I go, but I have a Valencia Orange, Ruby Red Grapefruit, and a Meyer Lemon tree. I’ve killed a couple of trees already by underwatering. It turns out that the salt table in this area rises and needs to be pushed down with deep watering, or else the trees can’t properly grow their roots without getting burned by the salts. To properly care for my citrus, I had to construct wells around them. I placed brick around them in a ring about 3 feet in diameter and filled in the area with soil for growing citrus. I water “slow and low,” for a minimum of two hours. Keep in mind, I live in the desert. Watering out here is probably different from other places. The local nursery told me to feed the trees early in the year around the Federal holidays. That’s easy enough to remember and I use hard citrus fertilizer.

The Soil Here
My new location has different soil. It has more sand-sized particles with mixed clays and silts. There are lenses of coarse-grained materials in the dirt. I’ve found all kinds of rocks varying in composition and size (less than 12 inches in length). As an aside, the term “sand-sized” is a reference to the size of the particles, instead of composition. It means the dirt is more coarse, rather than fine (having a Geology Degree has its benefits). There is a scale that geologists use to measure coarseness. I won’t dive into that but the point I am trying to make is that it is helpful to know what type of soil composition you have. This is only relevant if you plant directly in the ground. If you don’t know, that’s okay. It means you won’t know the quality of the soil upon starting, but you’ll soon learn. Poor soils can be mended with nutrients. If you compost, then you can mix poor soil with composted material. Or you can buy soils from your local nursery or retailer and mix them into the soils at your location.
Anyway, I believe the dirt here was brought in previous to construction for leveling the lot for drainage and building on. I don’t know its origin but it is similar to the soil at my previous location and likely came from an area not that far away.
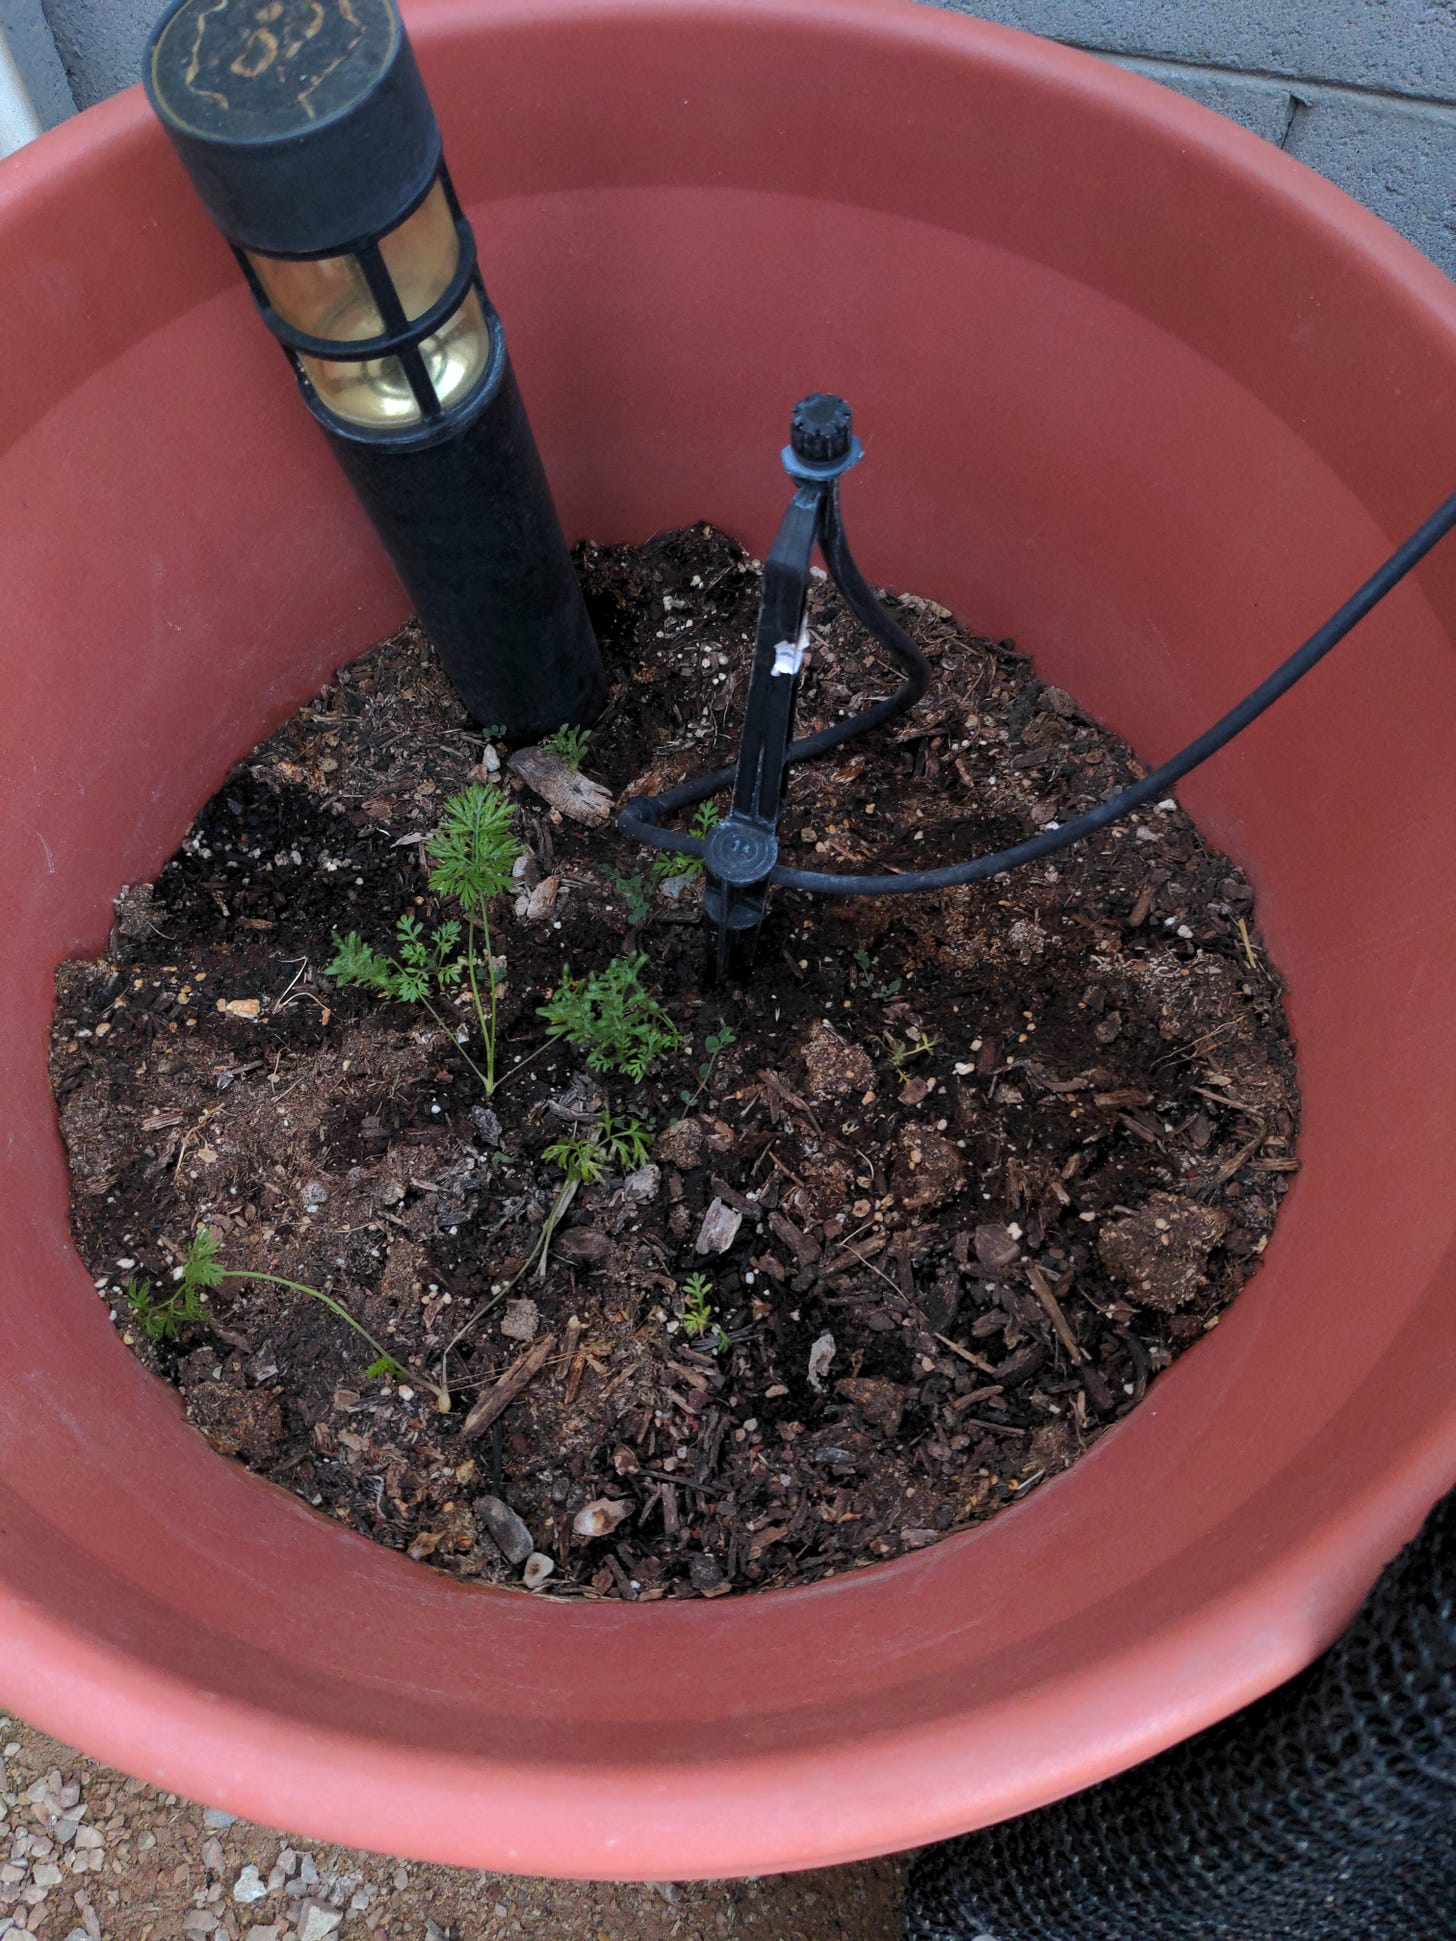
My Container Planting
Until a week ago, all of my planting (except for the citrus) has been in containers. Most of these are outside. They range in size. I have them close to drip irrigation so that they can receive water on a regular schedule. Over the past two years, I’ve grown carrots, potatoes, and basil in these containers with varying success.

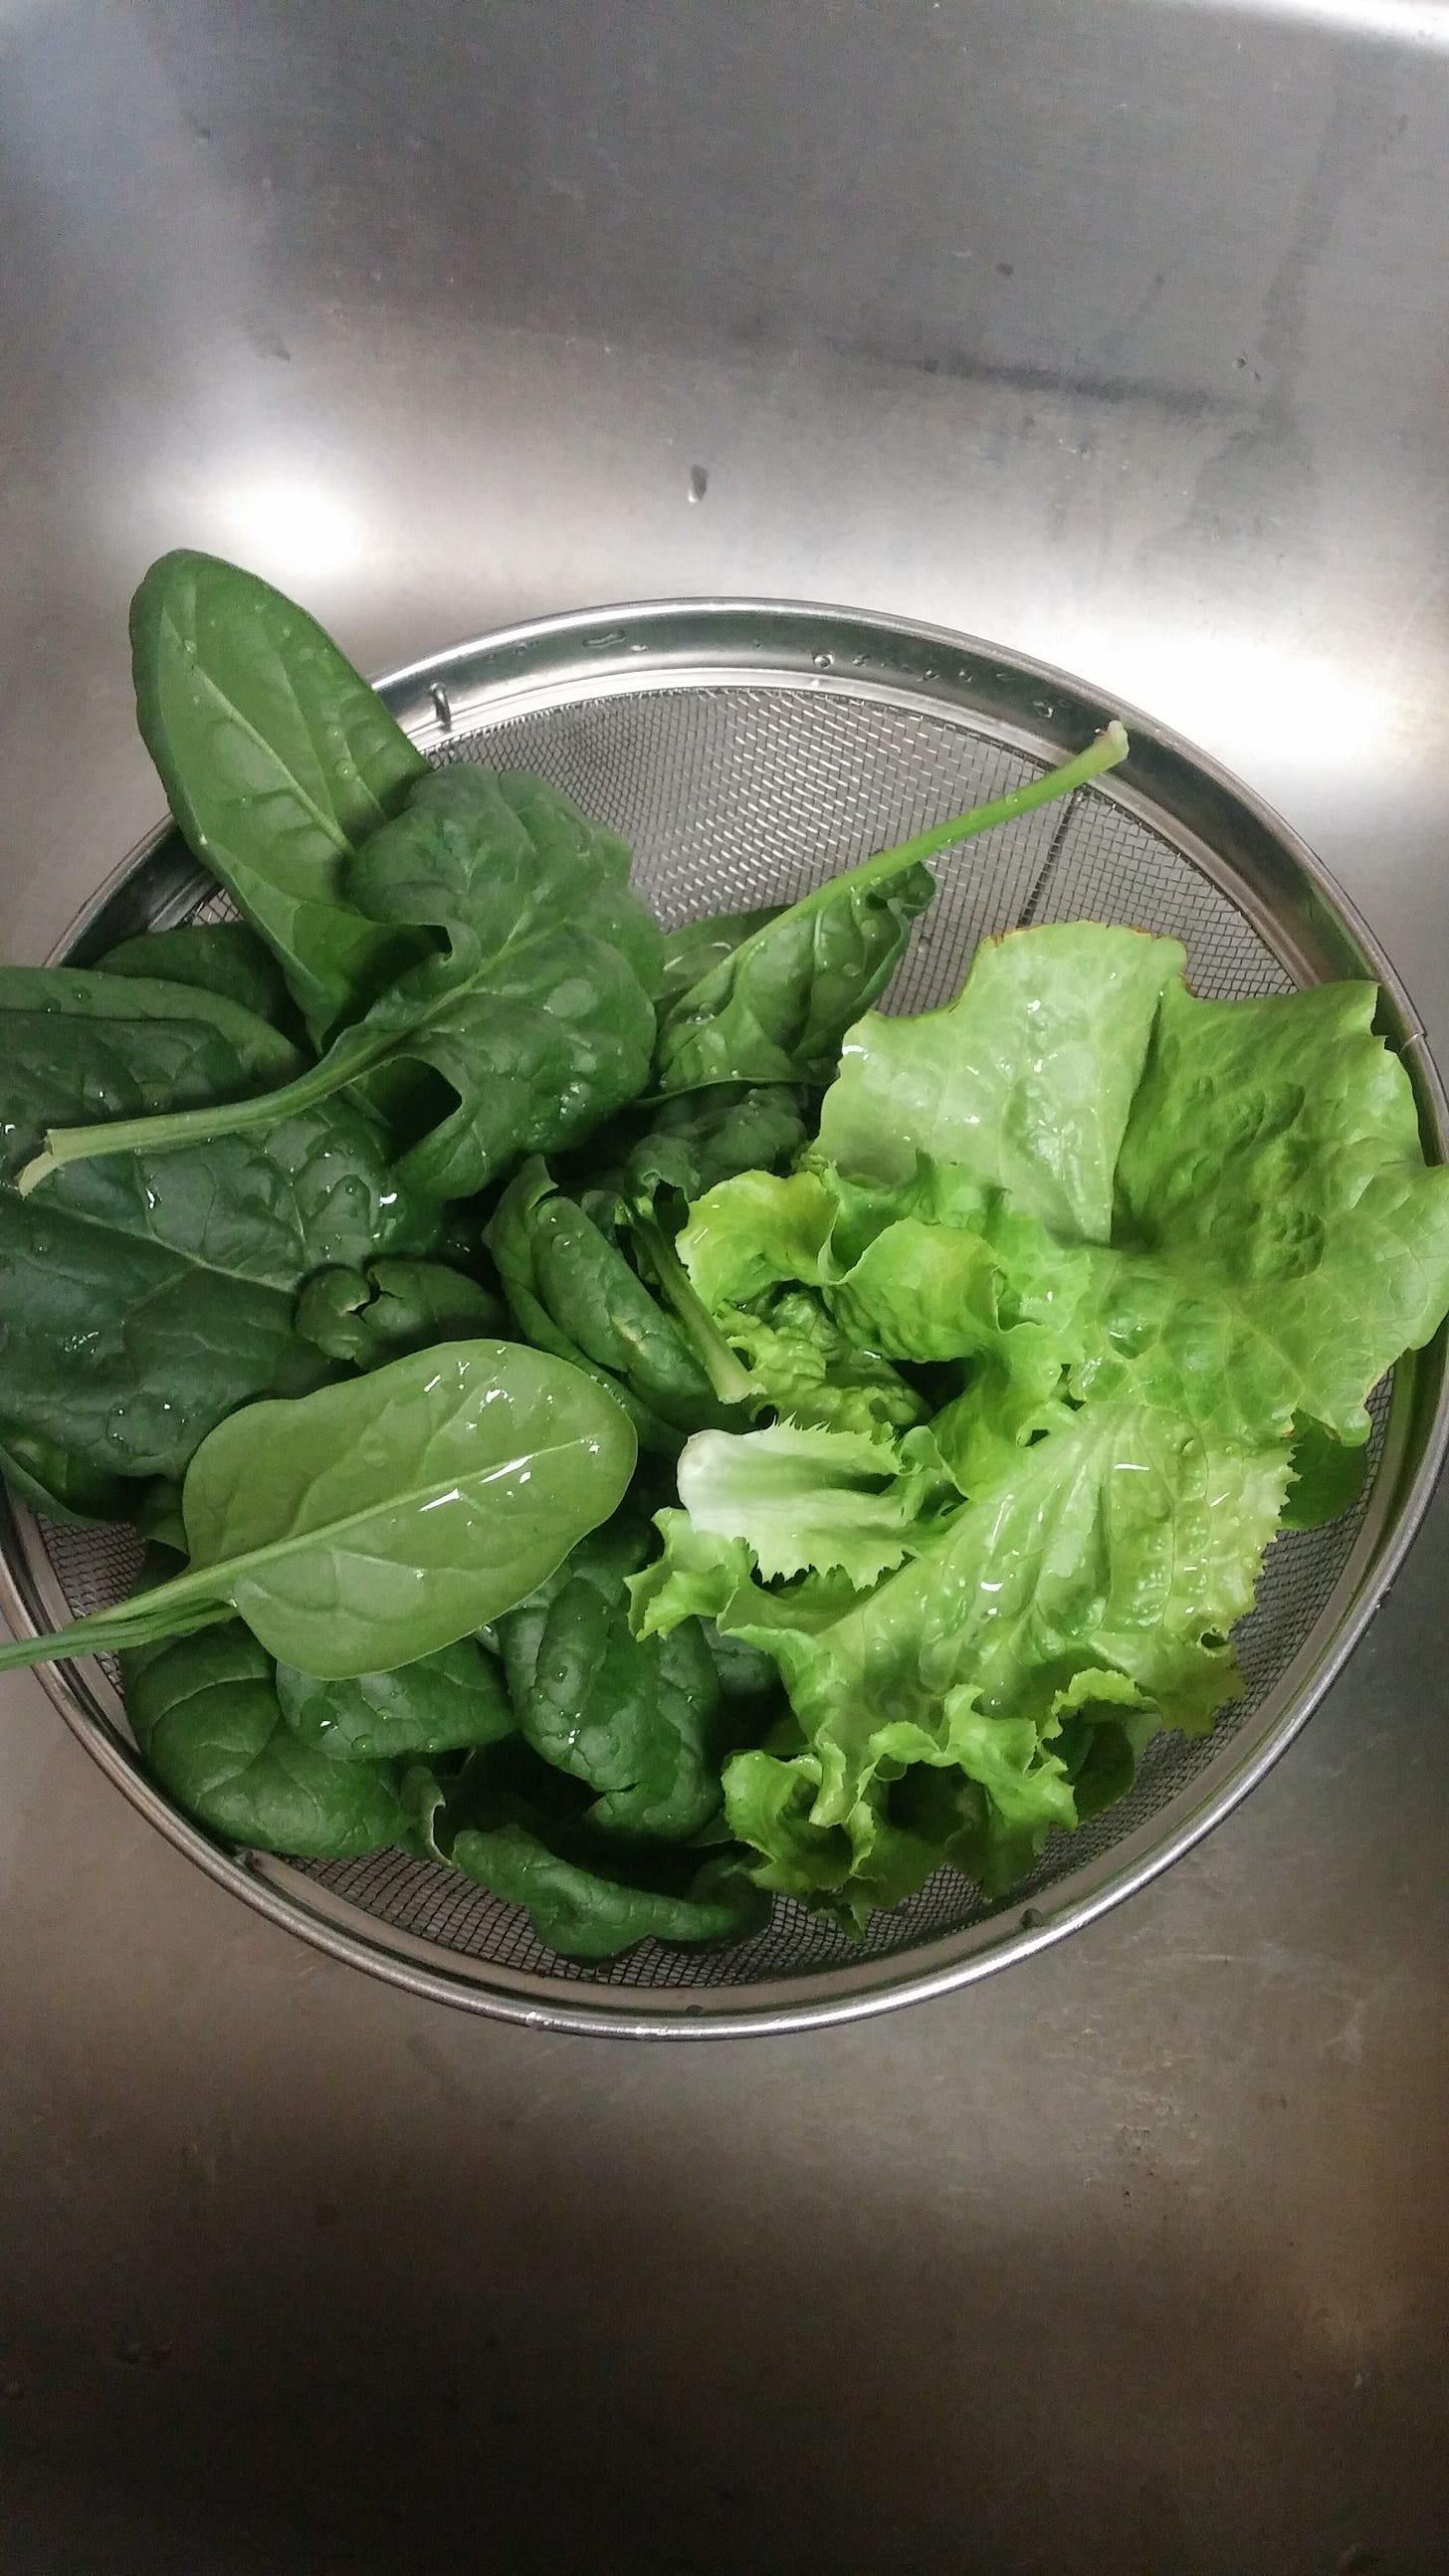
In addition to my outdoor containers, I have indoor containers and they utilize the Kratky grow method. A corner of a room inside is dedicated to these boxes. The area is a ten-foot square area and I have indoor grow lights hanging above the boxes to provide light. The lights run off of a solar generator. It’s completely off-grid. I have butter lettuce currently growing inside two of these boxes, but I have grown celery, beets, spinach, and cilantro in them before. I do not recommend growing beets or cilantro in this setting. It isn’t ideal for the plants. Cilantro grows into a bush. It needs more space. Beets need dirt. After I harvested the beets, they didn’t have a taste. They were bland. I think growing them in soil is better.
If you don't know about the Kratky Method, I explained in my article The Kratky Method.
My New Raised Bed
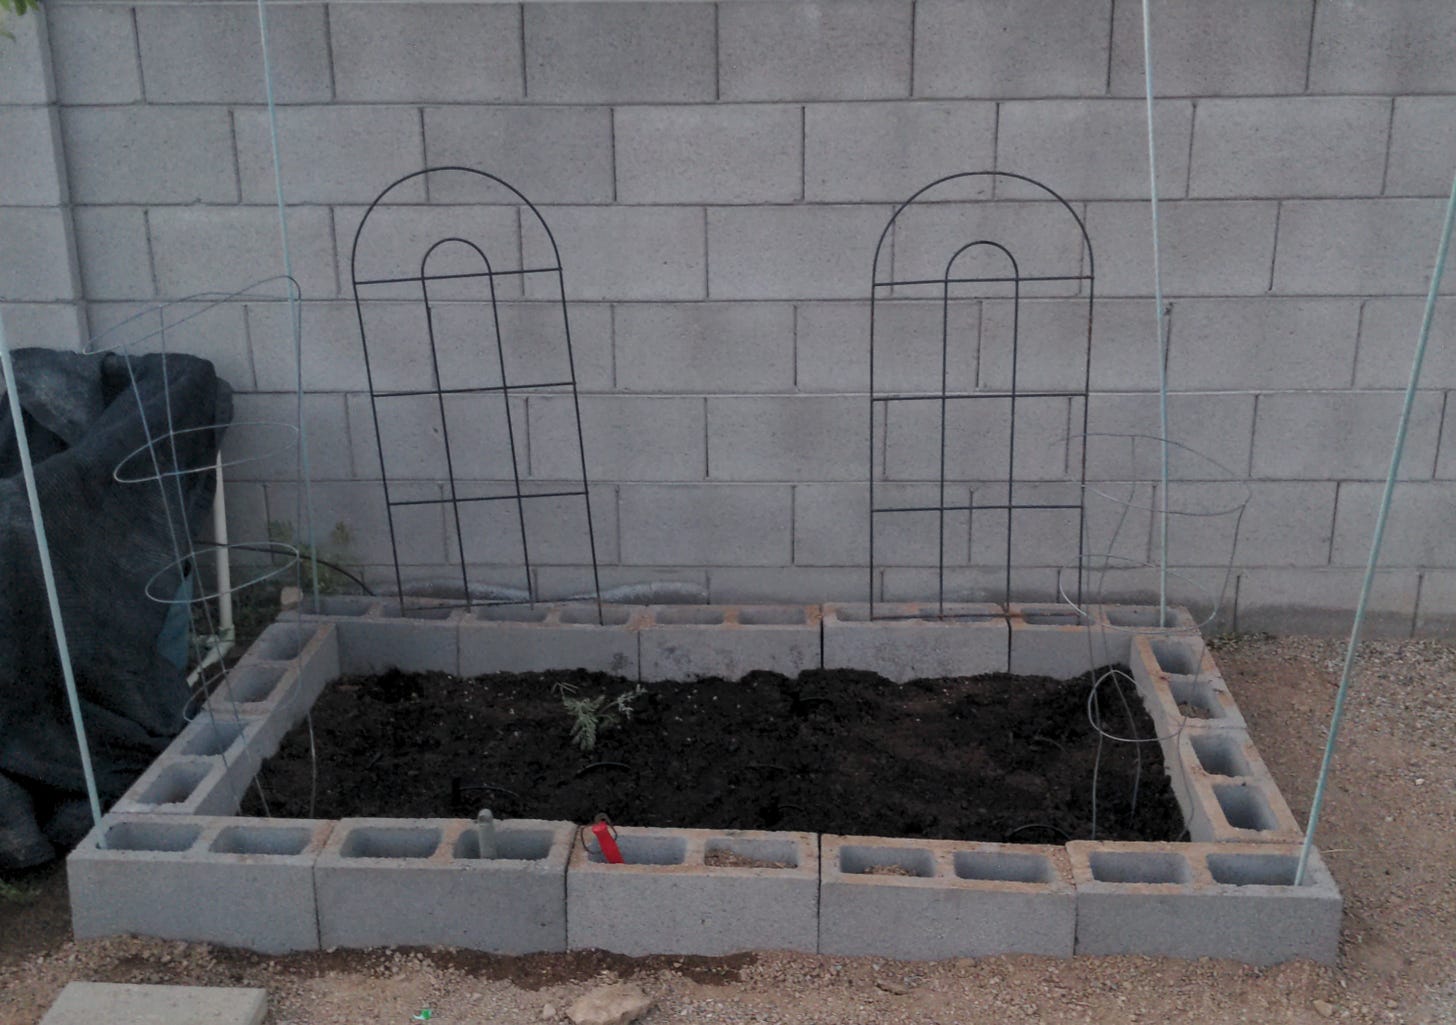
Recently, I put in a raised bed outside in my backyard. I made this myself, using cinder blocks. I picked an area close to my drip irrigation system so the watering can be scheduled. I like “fire and forget.” I plumbed the irrigation into the growing area and after sealing the bricks with waterproofing, I laid them down. Then I filled the the area with gardening soil and tested the irrigation to verify it worked properly. The next day, I sowed seeds in the soil and I am currently waiting for them to germinate and sprout. Hopefully, I won’t have to wait too long before I have cilantro, onion, tomato, dill, carrots, spinach, lettuce and some beautiful flowers.
Additional Information
Some additional information worth mentioning is that I do not use any pesticides, herbicides, or harsh chemicals in areas where I grow food. Bugs and pests are dealt with naturally. I have used ladybugs, mantises, and other natural predators to fight insects. I have also used soapy water to remove them. Sometimes this works and sometimes it does not. I know this sounds cliche but, do your research. If you have a pest you need to remove, find out what its natural predators are. Find out how to repel it. Planting citronella helps with mosquitoes, for example.
Build shade structures. I use PVC to build shade structures but they could be made using any materials. Shade structures aren’t difficult to make and if your plants need some shade, then it is important to provide it for them.
For me, gardening has been a real learning experience. I started with little to no experience and everything I’ve learned since has been helpful. I’ve shown that I can grow things in the desert, even during the extreme heat. I’ve had a lot of failures too. I’ve lost plants due to that same heat and I’ve lost plants during periods of extreme cold. It has taught me what I can grow and when.
The best advice I can give anyone is to start with a simple herb garden and then go from there. Get some small containers filled with soil and try growing some basil, garlic, or ginger. Those are really easy to grow. You don’t have to go crazy with something big. Once you get something going, then consider expanding your operation. Experiment too. Try growing different things, but always pick something you know you will like to eat. You might learn that it is fun to grow things. I experiment all the time and I have diversified how I grow things. I use containers and beds, both indoors and outdoors, so that way I am versatile. If something fails outside, then I can fall back on what I have inside.
Also, start composting. Having a way to compost is important for creating new soil or replenishing old soil. I think that every gardening operation needs to have a supply of compost. You can take your leftover fruit and veggie scraps and place them in your bin. Clean, broken-up eggshells can go in there too. Do not put any meat in your compost. Ever. Get some night crawlers and put them in there and you’ll have great compost in no time. Don’t forget to keep it moist and mix it regularly. You won’t regret it.
Like everything else related to prepping, it takes time to learn and practice gardening. It takes time to grow food. It takes time to get seeds and materials for growing. So it goes without saying that if you wait until the stuff hits the fan, it will be too late. So get started today and you’ll be able to enjoy food at your table from your own garden. You don’t even need a green thumb to do it.
Social Media
You can find me on the following social media platforms linked below:
Telegram: https://t.me/DF_P1
Twitter/X: https://x.com/desrtflashpoint
Facebook: https://www.facebook.com/profile.php?id=100095151413508&mibextid=ZbWKwL
Brighton.social: DesertFlashpoint@brighteon.social
Gettr: https://gettr.com/user/desrtflashpoint
Truth Social: @Desertflashpoint https://truthsocial.com/@Desertflashpoint


